

 by dabl.dev
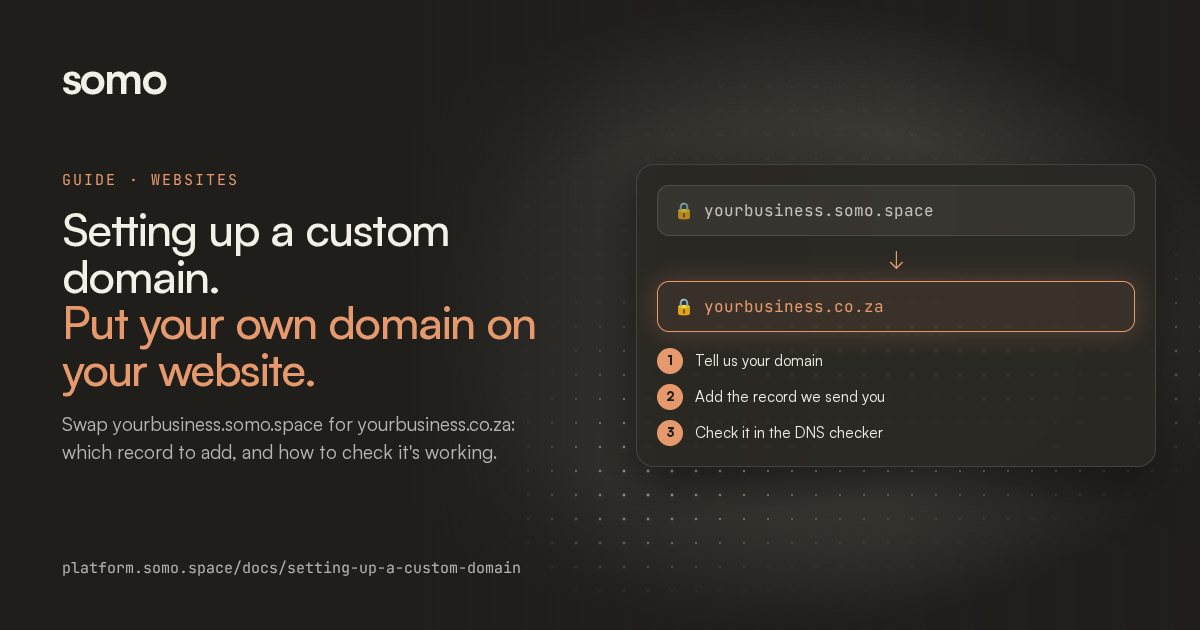
Connecting your domain takes one kind of DNS record, an A record, and every DNS provider supports it. Your DNS provider is wherever your domain's settings are managed, usually the company you bought the domain from.
Two A records, one for the apex and one for www, pointing at an IP address we send you. Every DNS provider supports them, so there's nothing to check first.
Not sure what's set up on your domain today? Put it into our free DNS checker to see its current A, CNAME, MX and TXT records in one place.
Step 1: Tell us your domain
Tell us the domain you want to use. We connect it to your site and send you the IP address to point it at.
We set up the www version for you at the same time: connect yourbusiness.co.za and www.yourbusiness.co.za works too (and the other way round). That means you get two records to add, one for each. Add both, or the second address won't work.
If you're connecting a subdomain, like shop.yourbusiness.co.za, tell us and we'll leave www out of it.
Send us the domain. We attach it to your site and reply with the IP address. The www hostname is paired automatically, apex to www or the other way round. For a subdomain like shop.yourbusiness.co.za, say so and we'll leave the www pair out.
Step 2: Add two A records
Log in to wherever you bought your domain and open its DNS settings (sometimes called DNS management, DNS zone or advanced DNS). Add an A record. Set the name to @, which means your domain itself, and the value to the IP address we sent you (four numbers with dots between them). Then add a second A record with the name www and the same IP address. Save both. Your email records (MX and TXT) stay as they are, so your email keeps working.
Add @ A <IP> and www A <IP>. If either name still points at an old host, delete that record: a leftover A record splits visitors between the two servers, a leftover AAAA record sends IPv6 visitors to the old one, and most providers won't let you add an A record where a CNAME already exists. MX and TXT records stay as they are, so email isn't affected.
Step 3: Check DNS propagation
DNS changes take a while to reach everyone. It's often minutes, sometimes up to a day or two, depending on your provider. To see where it's up to, put your domain into our free DNS checker and look at the A record: it should show the IP address we sent you. Turn on auto-refresh and leave it running, and it keeps checking for you.
How long it takes depends on the old record's TTL: often minutes, sometimes a day or two. dig +short yourbusiness.co.za and dig +short www.yourbusiness.co.za should both return the IP. The DNS checker asks Cloudflare's and Google's resolvers side by side over DNS-over-HTTPS; if they disagree, one is still serving a cached answer.
Step 4: Open your site
Once the A record shows our IP address, open your domain in your browser. Your security certificate (the padlock) is set up automatically on that first visit, and you're live. You don't need to tell us: we see it go live too.
There's no activation step. The certificate is issued on the first HTTPS request to each hostname, and the domain goes live on that request. curl -I https://yourbusiness.co.za, then the same for www, does it on purpose.
The DNS checker works for any domain, not just your website, so it's handy whenever you change your email provider, verify a domain for Google or Microsoft, or want to see whether a DNS change has gone through.
Stuck on any of this, or something isn't showing up the way it should? Talk to us →. We'd rather help you through it than leave you stuck on a DNS settings page.
Something not resolving the way it should? Talk to us →